Quick Answer
LED lights don't drain your car battery when installed correctly - they actually use 80% less power than traditional bulbs. Battery drain problems with LEDs usually come from poor installation, faulty wiring, or leaving lights on accidentally, not from the LEDs themselves.
Introduction
LED lights are a popular car upgrade because they're brighter and last longer than regular bulbs. Many car owners worry these lights might kill their battery, but LEDs actually use way less power than traditional bulbs. The real battery problems usually come from poor installation or cheap products, not the LEDs themselves. When installed correctly, quality LED lights will actually put less strain on your car's electrical system than your old bulbs did.

How Does Your Car's Power System Work?
Your car's electrical system is simpler than you might think. It has two main jobs: starting the engine and keeping everything running while you drive.
How Your Battery and Alternator Work Together
Your car battery stores electrical energy and provides the initial power to start your engine. Once the engine is running, the alternator takes over and generates electricity to power all your car's systems while also recharging the battery. Think of the battery as a backup power source that kicks in when the engine is off, and the alternator as the main power generator when driving.
The battery typically provides 12 volts of direct current (DC) power. When your engine isn't running, everything electrical in your car - from the clock to interior lights - draws power directly from this stored energy. If too many things drain the battery without the alternator replenishing it, you'll end up with a dead battery.
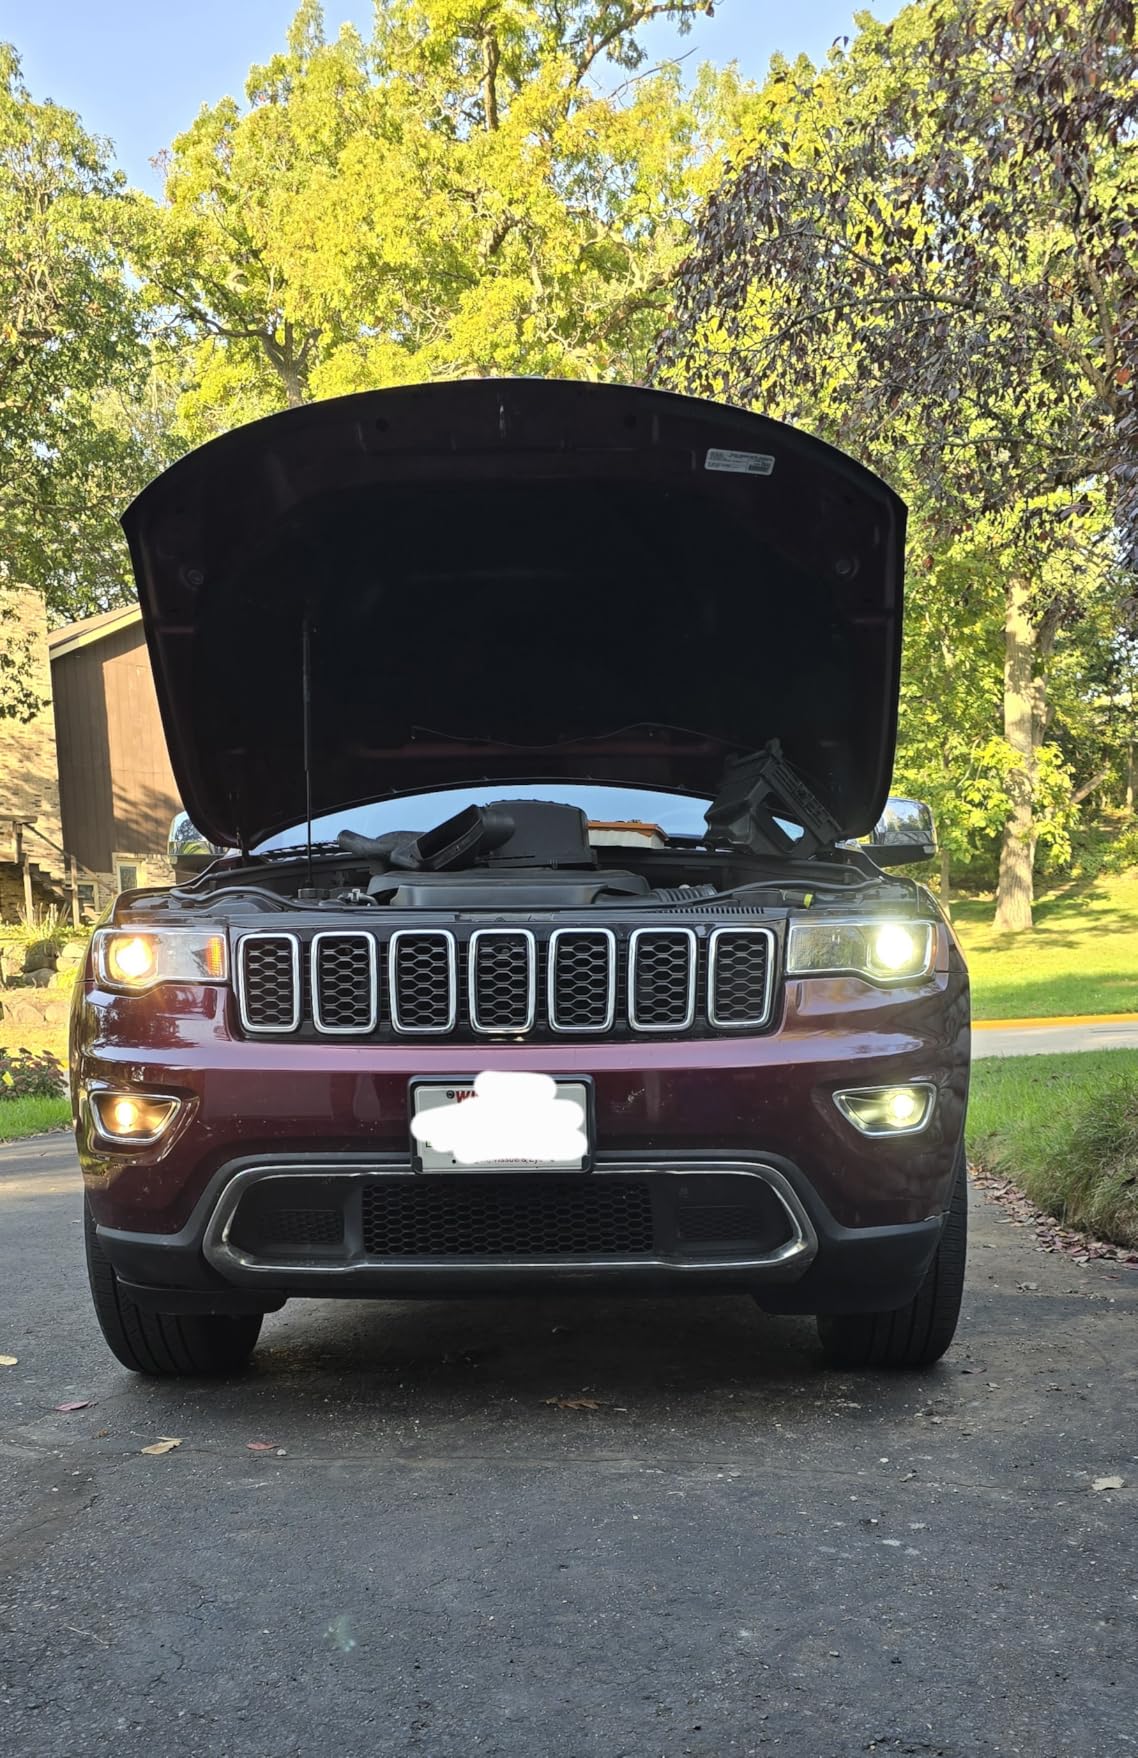
How Car Lights Get Power
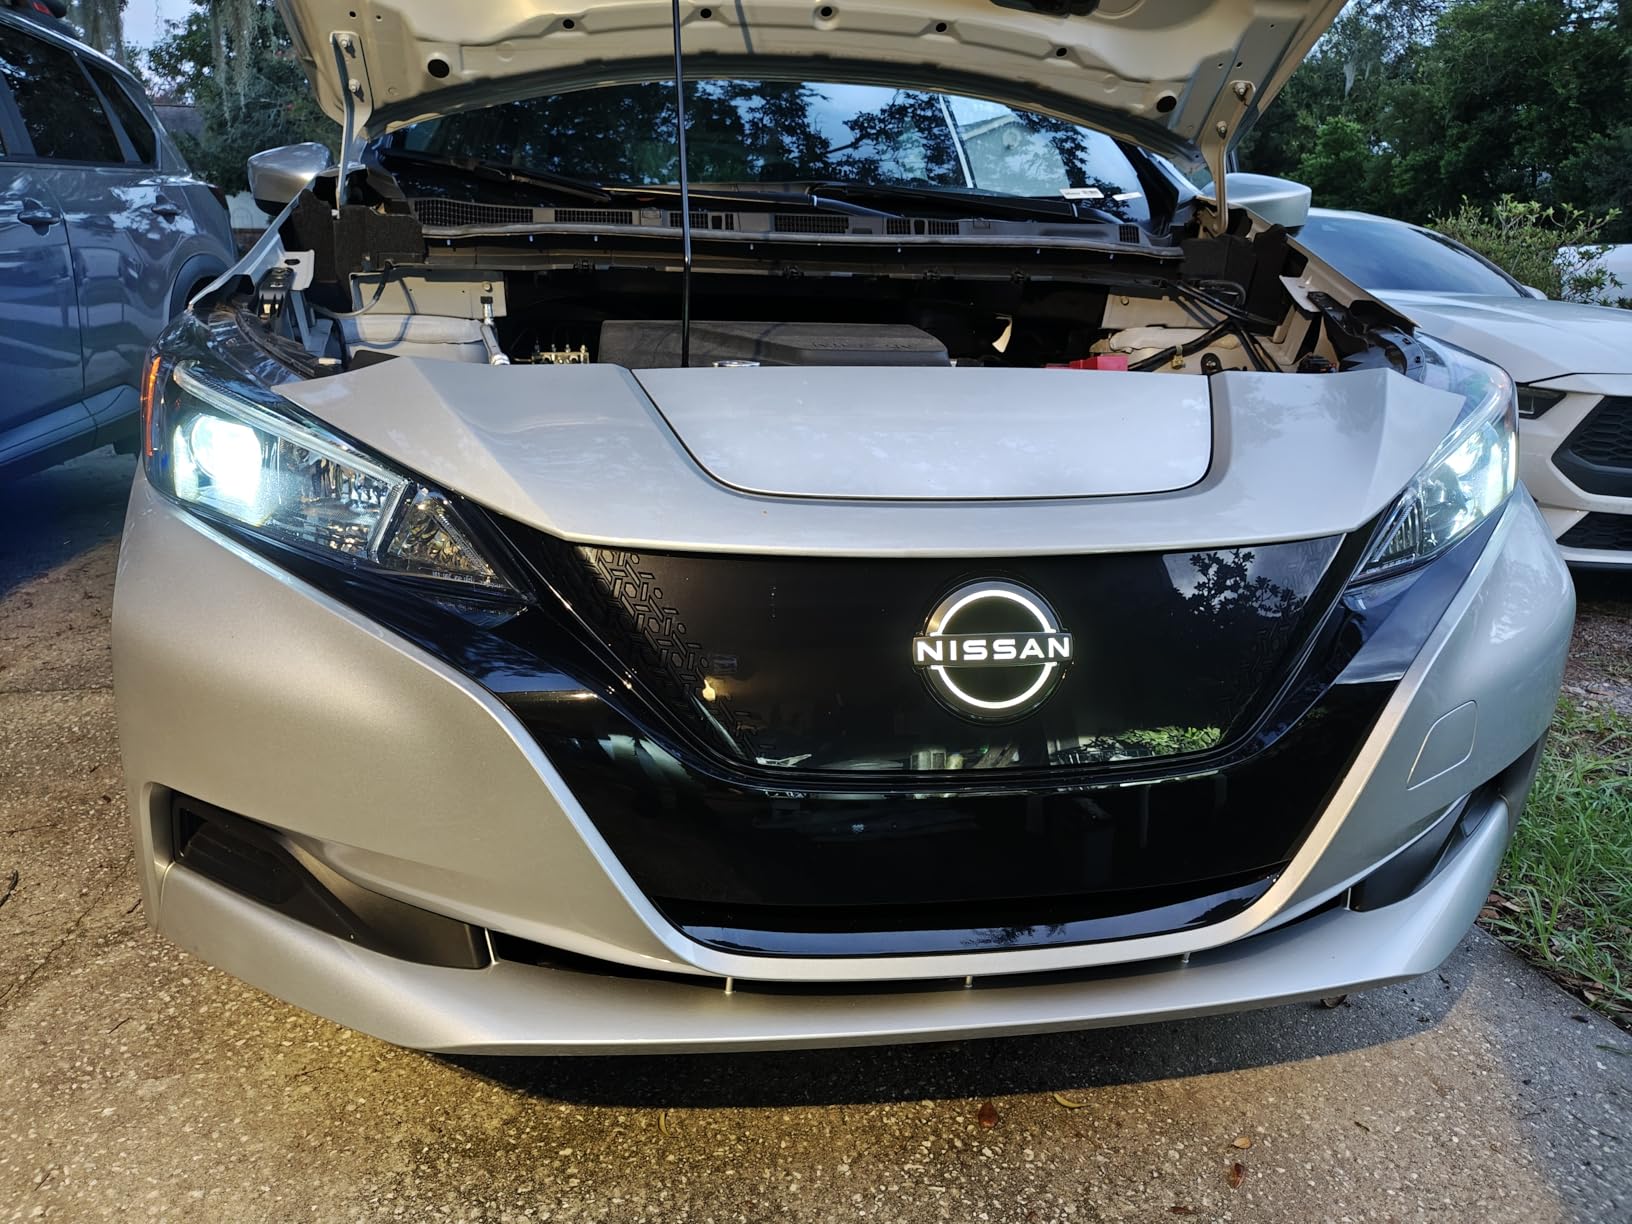
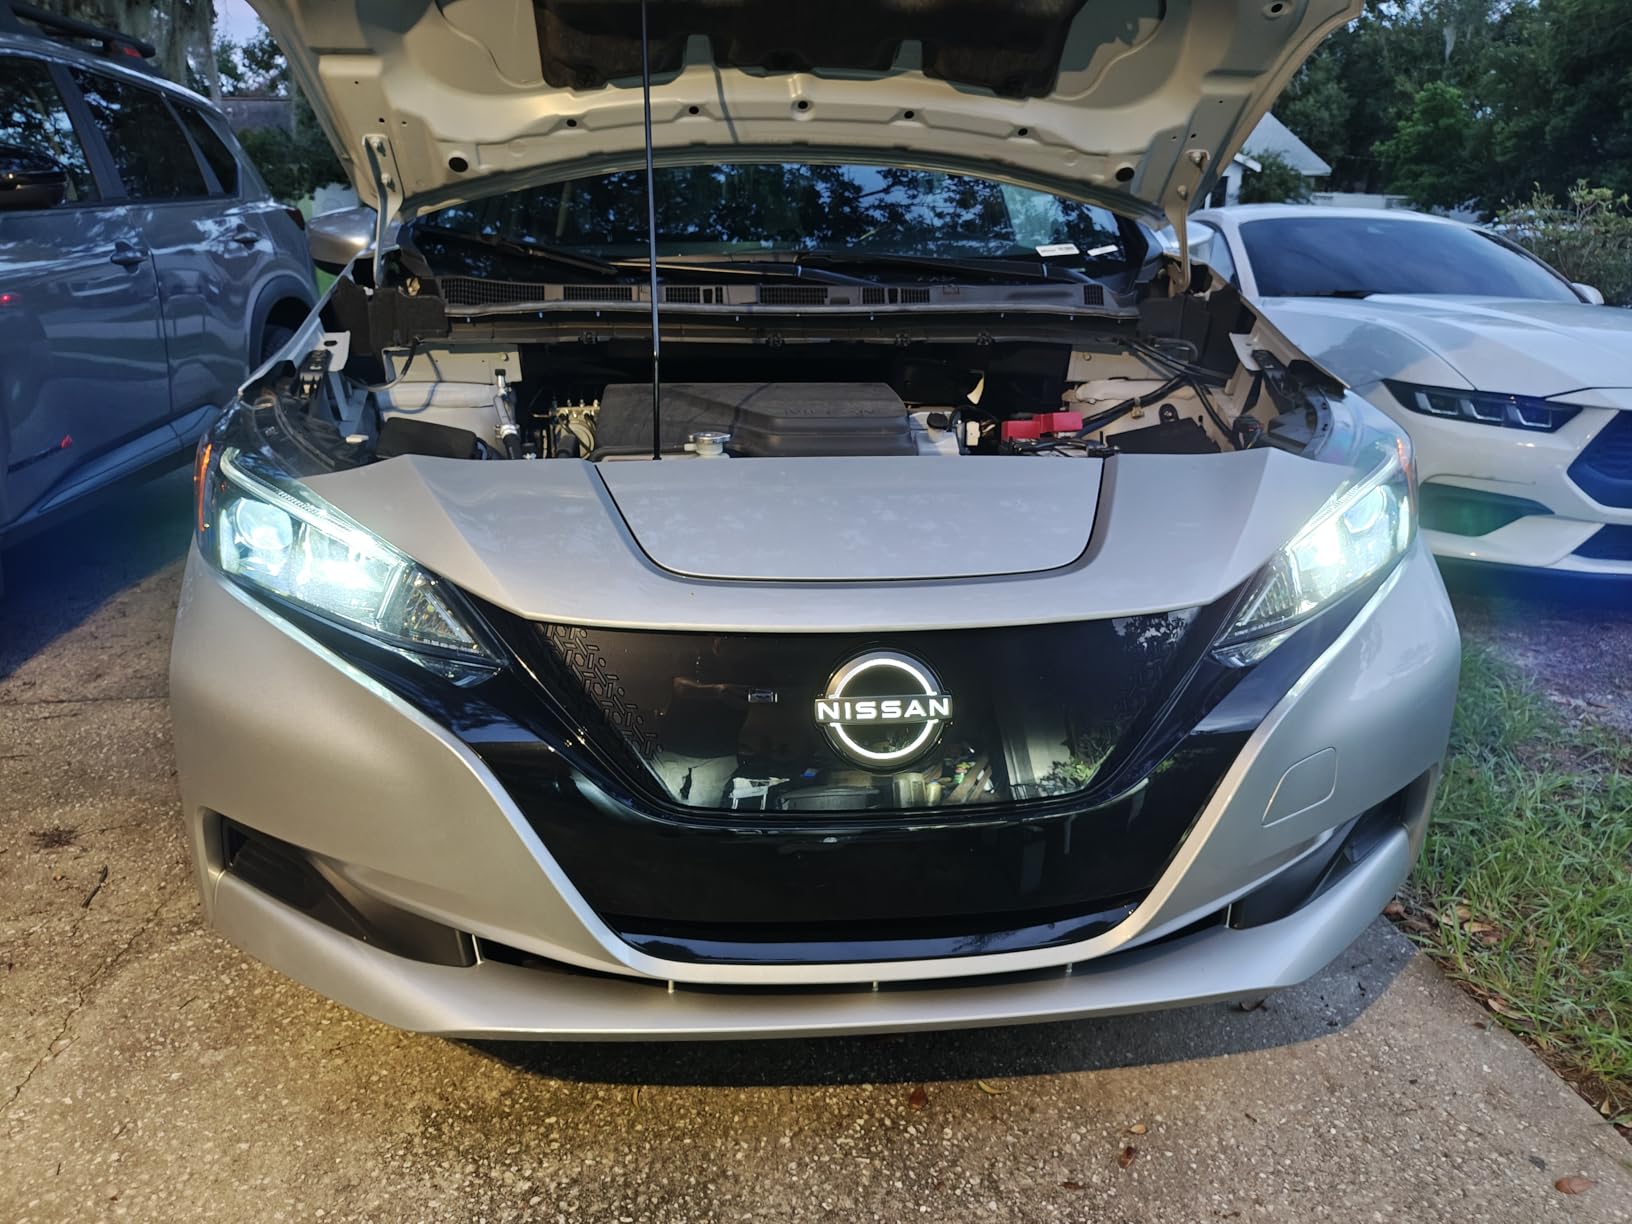
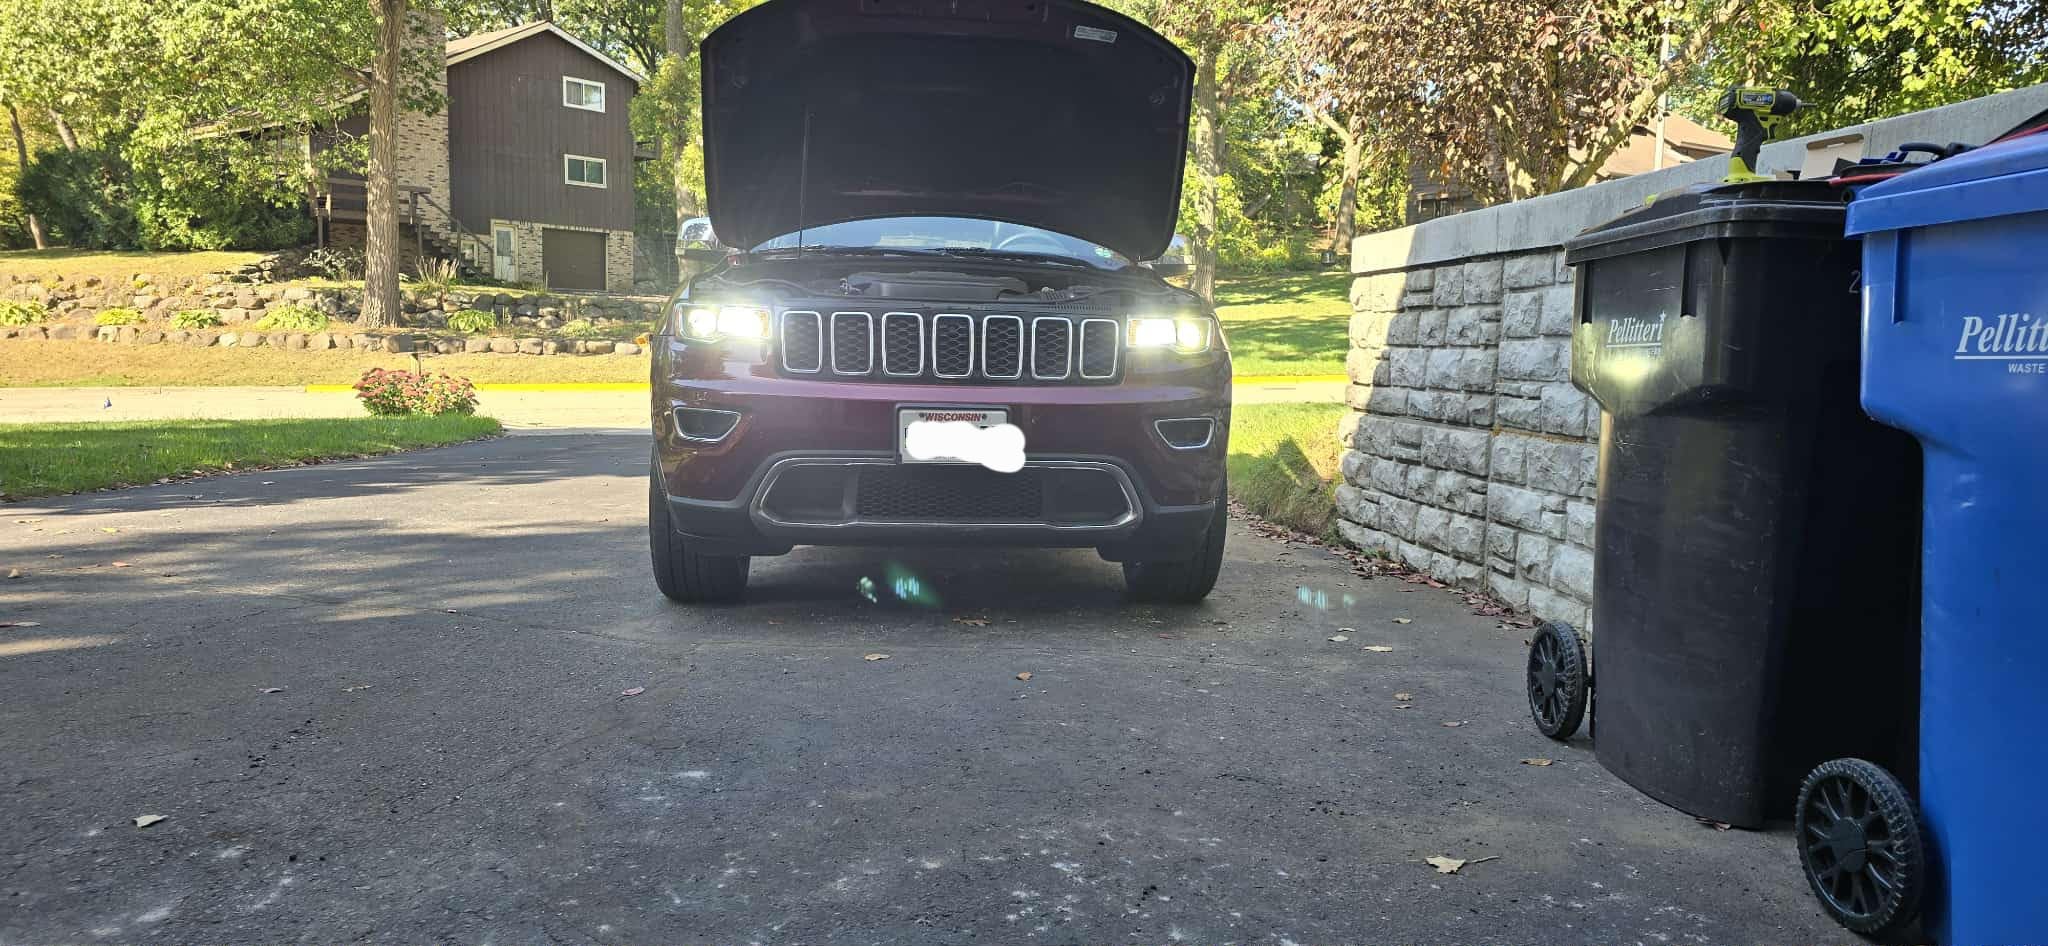
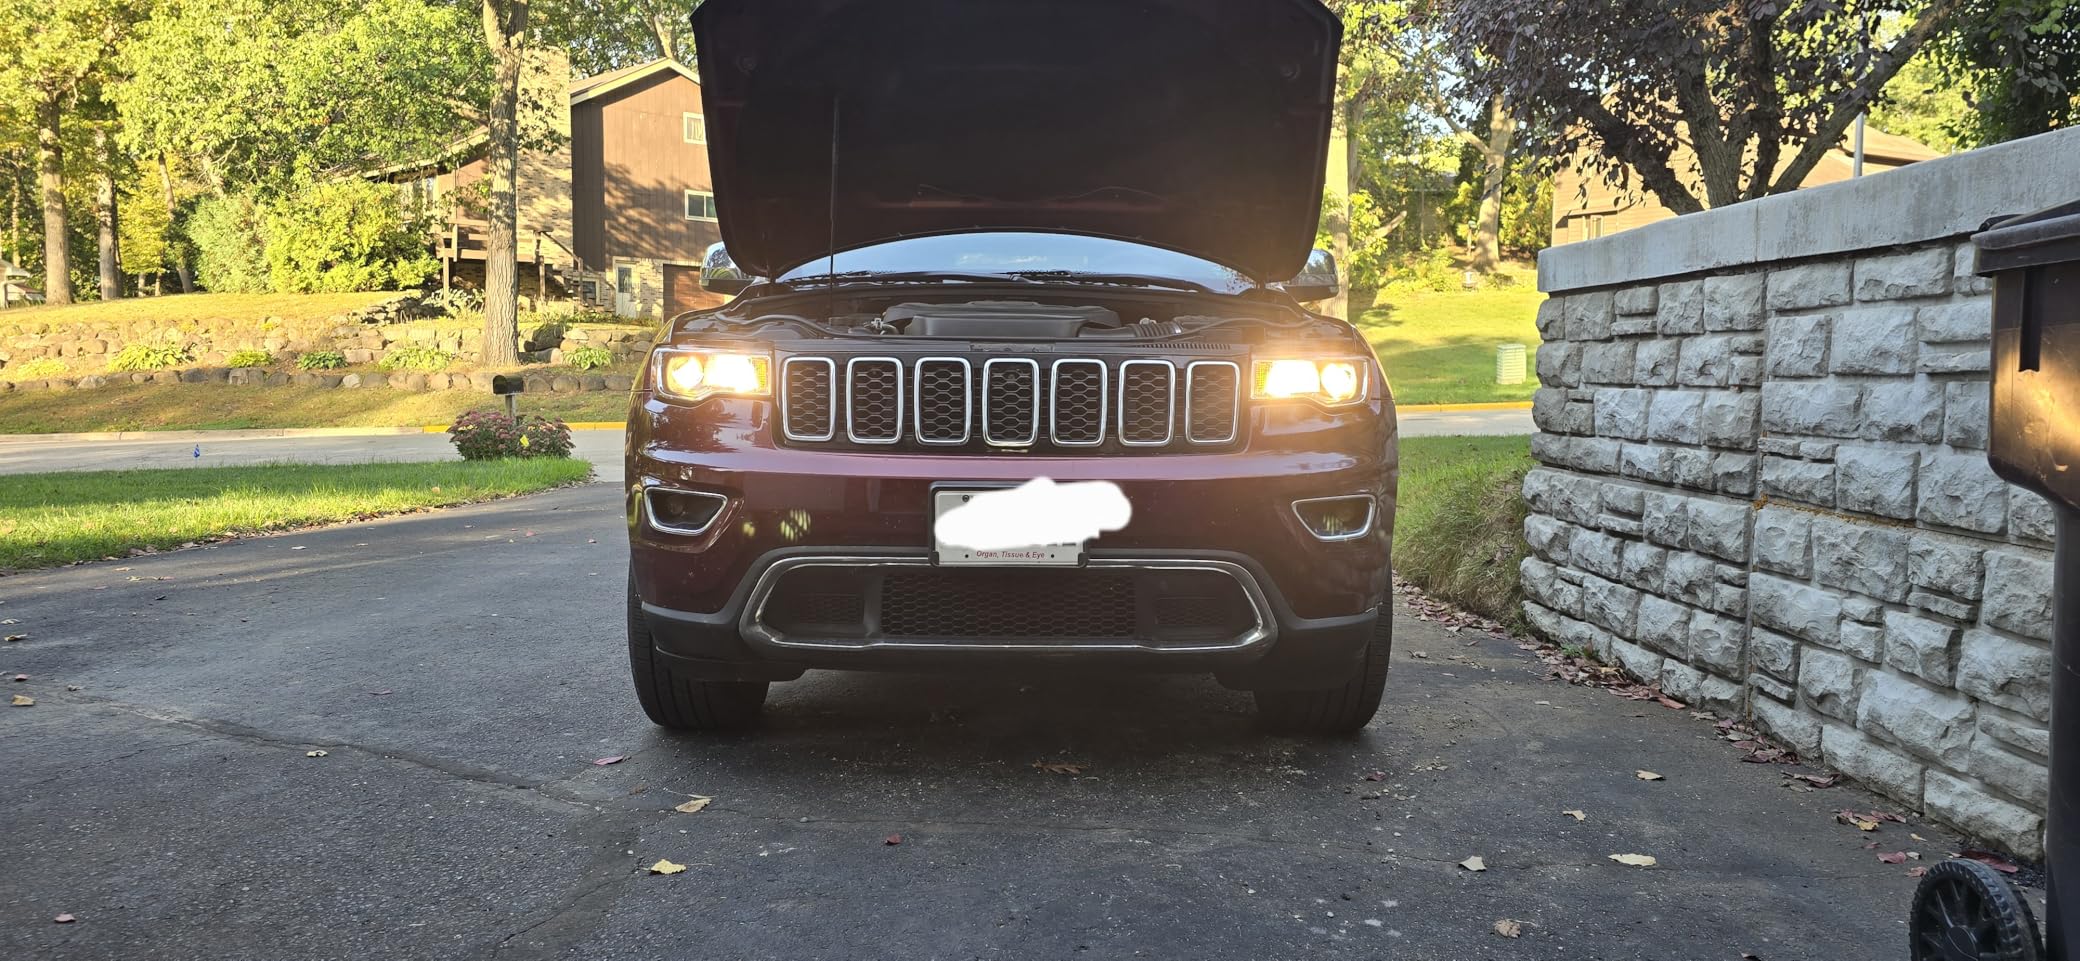
Car lights connect directly to your vehicle's 12-volt electrical system. When you turn on headlights, taillights, or interior lights, they draw power through fuses and wiring from either the alternator (when running) or battery (when parked). Different types of bulbs require different amounts of power to produce light, which is where the choice between LED and traditional bulbs becomes important.
LEDs vs Traditional Bulbs
The biggest difference between LED and traditional car bulbs comes down to how much electricity they need to produce the same amount of light.
Power Usage Comparison Chart
| Light Type | Traditional Bulb Watts | LED Bulb Watts | Power Savings |
| Headlights | 55W | 15-20W | 65-75% less |
| Taillights | 21W | 3-5W | 75-85% less |
| Interior Dome | 10W | 1-2W | 80-90% less |
| Dashboard | 5W | 0.5-1W | 80-90% less |
| Turn Signals | 21W | 3-4W | 80-85% less |
Traditional incandescent and halogen bulbs typically draw 25-65 watts of power, depending on how tall and bright they are. LED bulbs that produce the same amount of light typically draw only 3-12 watts. That's equivalent to LEDs using approximately 80% less energy than standard bulbs and sometimes projecting more intense, cleaner light.
Why LEDs Save So Much Energy
LEDs convert electricity directly into light through a semiconductor process, as opposed to regular bulbs that create light through the process of heating up a filament to red hot. Incandescent bulbs spend much of their energy as heat rather than light. LEDs give off very minimal amounts of heat, so nearly all the electricity goes towards creating light. That efficiency means less work for your car's electrical system to energize LED light, potentially lengthening the battery's life and reducing alternator stress.
The biggest difference between LED and traditional car bulbs comes down to how much electricity they need to produce the same amount of light. Upgrading to LED lights is one of the most effective ways to make your car brighter without straining your electrical system.
When Do LEDs Actually Drain Your Battery?
Even though LEDs use much less energy than traditional bulbs, they will still have the ability to drain your battery in certain circumstances. The majority of the battery drain caused by LEDs is the result of installation mistakes or failure to turn off lights, not LEDs themselves.
What is Parasitic Drain?
Parasitic drain occurs when electrical devices keep sucking power from your battery even after turning off your car. All cars do have some usual parasitic drain from the clock, alarm system, and computer modules - typically 25-50 milliamps. Issues begin when bad wiring or substandard installations place additional drains over and above this usual amount.
LEDs themselves will not create parasitic drains, but poor wiring can create pathways for electricity to flow when it is not supposed to. Proper installation is why this is so critical.
How Bad Installation Causes Problems
Inadequate installation of LEDs is the primary cause of battery drain problems. Some of the common errors involve wiring LEDs to circuits that remain energized when the vehicle is not running, employing the incorrect gauge wire that cannot carry the current, or bypassing fuses that safeguard the electrical system.
Some people tap into continuously hot wires (like those powering the radio memory charge) instead of switching circuits that only power up when the ignition is turned on. Others tap into current wiring without taking the trouble to insulate connections properly, which can result in short circuits or unwanted power draw.
Leaving Lights On
This is a no-brainer, but it's still the most common reason for LED-induced battery drain. LEDs are so efficient that you might not even notice you've left interior lights or accessories on. An old dome light would drain your battery in an hour or two, but an LED one would take you till dawn - but it'll drain your battery nonetheless.
Some after-market LED attachments do not shut off when you turn off your car, like light bars, under-car lights, or specialized interior mounts. Double-check everything to make sure that your LEDs shut off when they should.
How to Prevent LED Battery Problems
The good news is that LED battery issues are completely preventable with proper installation and quality products. A little planning upfront can save you from headaches later.
Why Proper Installation Matters
Correct installation ensures your LEDs only draw power when intended and don't create unwanted electrical pathways. Professional installation might cost more upfront, but it prevents expensive battery or electrical system damage down the road.
If you're doing the work yourself, take time to understand which circuits to use and follow proper wiring practices. Rushing through installation is the fastest way to create problems.
Wiring and Fuse Tips
Always connect LEDs to switched circuits that only get power when your ignition is on, unless you specifically need them to work with the car off. Use appropriately sized fuses - typically 5-15 amps for most LED applications. Install fuses as close to the power source as possible to protect the entire circuit.
Use proper gauge wire for your LED setup. Even though LEDs use less power, undersized wire can cause voltage drops and heat buildup. When in doubt, go with slightly thicker wire than you think you need.
Checking for Power Draw
After installing LEDs, test your car's power draw to make sure everything is working correctly. A healthy electrical system should draw less than 50 milliamps when the car is off and all systems have gone to sleep (usually 10-15 minutes after turning off the ignition).
How to Test for Drain
You'll need a digital multimeter to check for excessive drain. Disconnect the negative battery cable and connect your multimeter in series between the cable and battery terminal, set to measure amps. Turn off your car and wait 15 minutes for all systems to shut down, then check the reading.
If you're seeing more than 50 milliamps, start pulling fuses one by one until the drain drops. This will tell you which circuit is causing the problem. Normal readings should be 25-50 milliamps for most modern cars.
Selecting Quality LED Products
Cheap LEDs often have poor quality control and can fail in ways that cause electrical problems. Stick with reputable brands that offer warranties and have good customer reviews. Quality LEDs cost more initially but last longer and are less likely to cause electrical issues. When selecting exterior LED lamps specifically, consider factors like brightness, beam pattern, and compatibility with your vehicle's electrical system.
Look for LEDs specifically designed for automotive use, as they're built to handle the voltage fluctuations and temperature changes in vehicles. Avoid generic LEDs meant for household use.
Using a Battery Maintainer
If you do not drive your car frequently, you should consider utilizing a battery maintainer or trickle charger. These gadgets keep your battery at peak charge and even compensate for little parasitic depletion. This is especially useful if you have several LED accessories or an older vehicle with a higher-than-typical drain. A battery maintainer attaches to a regular outlet and connects to your battery, automatically regulating the charge rate to keep it healthy over extended periods of inactivity.
Signs Your Car Battery is Draining from LEDs
Recognizing the early warning signs of a weak battery can save you from getting stranded. Most battery problems start small and get worse over time, so catching them early gives you time to fix the issue.
Slow Engine Cranking
The most obvious indication of a failing battery is when your engine cranks slowly or struggles to start. Here's what to look for:
- Your engine takes longer to start than normal; instead of the rapid, forceful cranking sound you expect, the starter motor sounds sluggish and laborious.
- When attempting to start, you may hear clicking sounds; rapid clicking typically indicates that the battery lacks sufficient voltage to effectively engage the starter motor.
- The engine cranks normally on the first effort but struggles on subsequent attempts - this frequently occurs when the battery is near-dead and loses power with each start attempt.
- Starting problems are exacerbated in cold weather - batteries lose capacity in cold temperatures, so a battery that operates well in the summer may suffer when temperatures drop.
Dimming Car Lights
Your car's lights are directly connected to the electrical system, thus they are good indications of battery and charging system condition.
- When you crank the engine, the headlights dim; healthy charging systems should make the lights brighter, not darker.
- Interior lights appear substantially darker than usual; dome lights, dashboard lights, and other interior lighting should be consistent in brightness.
- Lights brighten greatly when you start the engine; if your lights get much brighter once the alternator kicks in, your battery isn't fully charged.
- Intermittent dashboard warning lights - flickering battery or check engine lights are common indicators of electrical system difficulties.
Maintaining optimal car light brightness ensures your headlights remain visible at the maximum legal distance, which is essential for nighttime safety.
How to Fix LED Car Battery Drain Problems
When you're dealing with a dead or weak battery, you need to get your car running again and then figure out what caused the problem. Here's how to handle both steps safely and effectively.
Jump Starting Your Vehicle
Jump starting is often the quickest way to get back on the road, but doing it wrong can damage your car's electrical system or hurt you.
- Position the helper vehicle close enough for jumper cables to reach both batteries - the cars shouldn't touch each other, and both should be turned off with parking brakes engaged.
- Connect the positive (red) cable to the dead battery's positive terminal first - make sure the connection is solid and the cable clamps are clean.
- Attach the other end of the positive cable to the helper car's positive battery terminal - double-check that you're connecting positive to positive.
- Connect the negative (black) cable to the helper car's negative battery terminal - this should be your third connection.
- Attach the final negative cable to an unpainted metal surface in your car's engine bay - avoid connecting directly to the dead battery's negative terminal to prevent sparks near battery gases.
- Start the helper vehicle and let it run for a few minutes - this charges your dead battery slightly before attempting to start your car.
- Try starting your car while the helper vehicle continues running - if it doesn't start immediately, wait a few more minutes before trying again.
Testing Battery and Alternator
Once your car is running, you need to determine whether the problem is your battery, alternator, or something else entirely.
- Keep your engine running and remove the jumper cables in reverse order - start with the negative cable from your engine bay, then negative from helper car, then both positive cables.
- Drive to an auto parts store for professional testing - most stores will test your battery and alternator for free using specialized equipment.
- Check your battery voltage with a multimeter if you have one - a healthy battery should read 12.4-12.7 volts when the engine is off and 13.5-14.5 volts when running.
- Test the alternator by turning on electrical accessories while the engine runs - headlights, air conditioning, and radio should all work normally without dimming if your alternator is charging properly.
- Monitor your car's performance over the next few days - if the battery dies again quickly, you likely have a parasitic drain or a failing battery that needs replacement.
- Consider the age of your battery when making decisions - most car batteries last 3-5 years, so an older battery that's showing problems should probably be replaced even if it passes basic tests.
How to Maintain Your Car Battery
Taking care of your car battery is like taking care of any other important component - a little regular maintenance goes a long way toward preventing problems and extending its life. Most battery maintenance is simple and takes just a few minutes every few months.
Regular Battery Inspections
Checking your battery regularly helps you catch problems before they leave you stranded. Most issues develop gradually, so monthly inspections can save you from unexpected breakdowns.
- Check the battery case for cracks, bulges, or leaks - any physical damage means the battery needs immediate replacement since it could leak acid or fail suddenly.
- Look at the battery terminals for corrosion buildup - white, blue, or green crusty deposits around the terminals reduce electrical connection and should be cleaned off.
- Make sure the battery is securely mounted - loose batteries can bounce around and damage internal components or cause poor electrical connections.
- Test the battery voltage monthly with a multimeter - readings below 12.4 volts when the engine is off indicate the battery is losing capacity and may need replacement soon.
- Check the electrolyte level in non-sealed batteries - if you can see the battery cells, the fluid should cover the metal plates inside, and you can add distilled water if needed.
- Inspect the battery cables for fraying or damage - cracked or corroded cables can cause poor connections and should be replaced before they fail completely.
- Note any changes in starting performance - if your car takes longer to start or the engine cranks more slowly than usual, your battery may be weakening.
Cleaning Battery Terminals: 7 Steps
Dirty or corroded battery terminals are a major source of electrical issues and poor battery performance. Clean terminals ensure that your battery can provide full power to your vehicle's electrical system.
- Turn off your engine and remove the keys - never work on battery terminals while the engine is running or the ignition is on.
- Remove the negative cable first, then the positive cable - this prevents accidental short circuits if your wrench touches metal while removing cables.
- Mix baking soda and water to create a cleaning paste - use about one tablespoon of baking soda per cup of water to neutralize battery acid and dissolve corrosion.
- Scrub the terminals and cable ends with an old toothbrush - the baking soda solution will foam up as it neutralizes acid, which is normal and safe.
- Rinse everything with clean water and dry thoroughly - make sure no baking soda residue remains, as it can continue working and potentially damage components.
- Apply a thin layer of petroleum jelly or battery terminal protectant - this prevents future corrosion by creating a moisture barrier on the clean metal surfaces.
- Reconnect the positive cable first, then the negative cable - tighten connections snugly but don't over-tighten, as this can damage the terminals.
- Test your electrical systems after reconnecting - make sure lights, radio, and other accessories work properly to confirm good connections.
Make Your LED Lights and Battery Long-Lasting
To maintain a healthy automobile battery, install LED lights correctly and use high-quality materials. Most of the problems with batteries arise because of poor wiring or leaving the lights on and not because LEDs are power-hungry. If you do have battery issues after installing LED lights, get your electrical system checked and test for parasitic drain. Keep your battery in good condition by regularly cleaning and checking it, and do not assume warning signs like slow starts and dim lights - have them sorted out now to avoid being stranded.